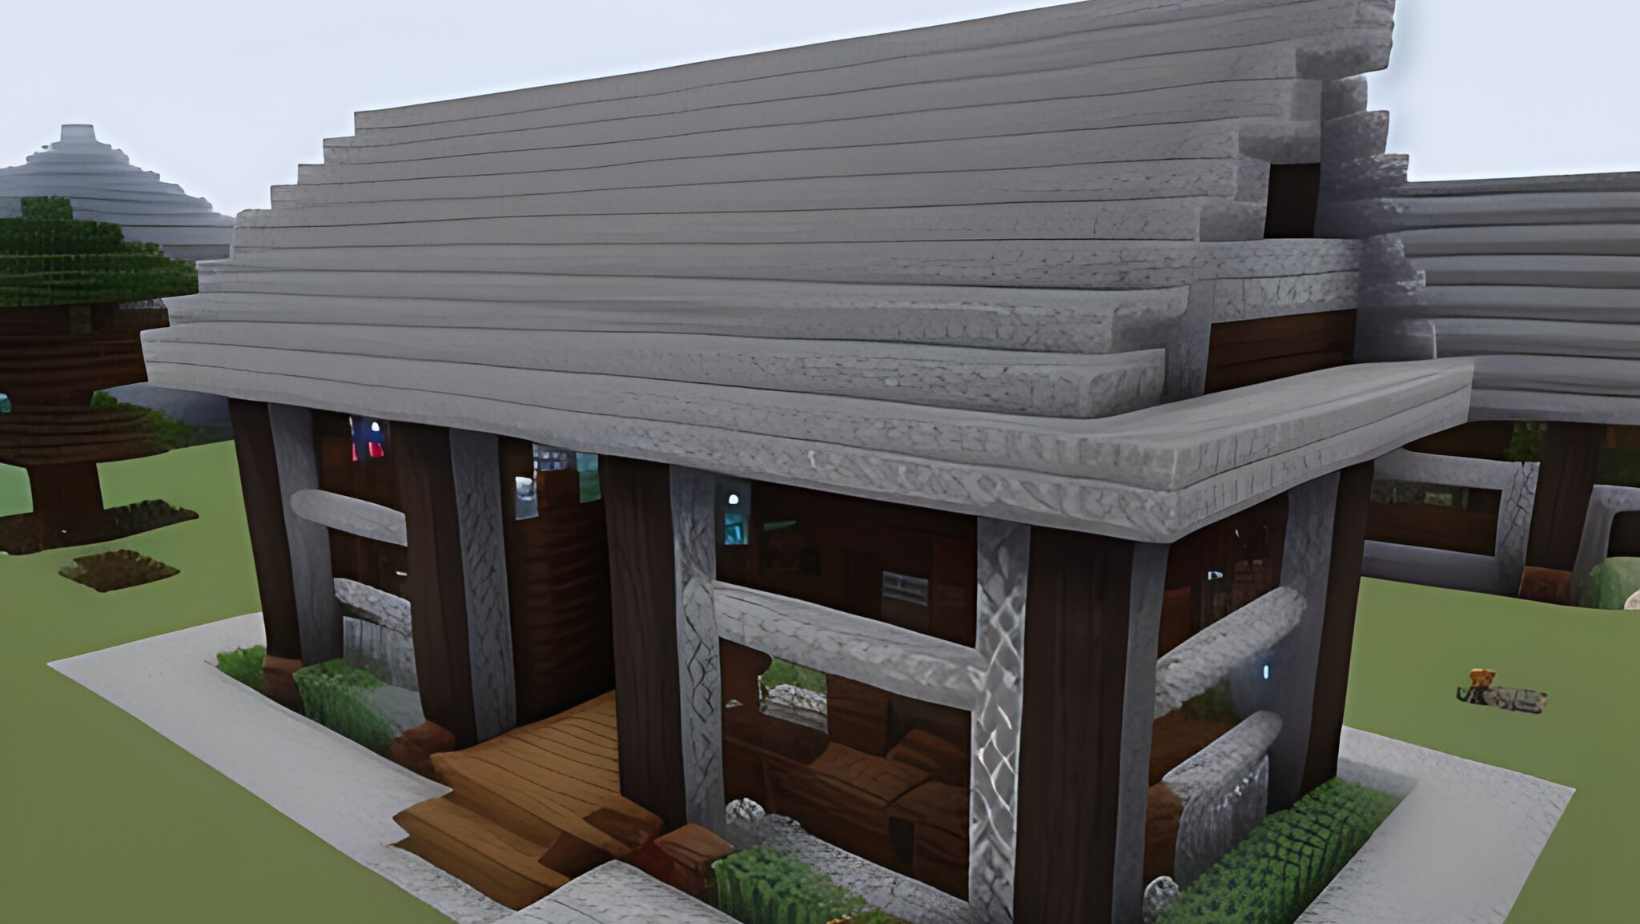
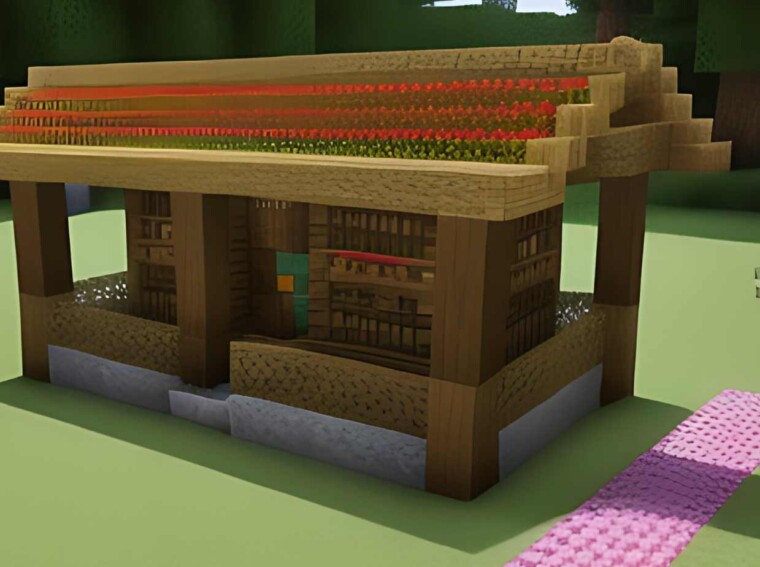
Looking to construct a sturdy and stylish roof in your Minecraft world? Well, you’ve come to the right place! In this article, I’ll guide you through the process of building a roof that not only provides protection from the elements but also adds aesthetic appeal to your virtual abode. So let’s dive right in and discover how to build a roof in Minecraft.
The first step is to choose the material for your roof. Whether you prefer the classic look of wooden planks or the sleekness of stone slabs, there are numerous options available. Once you’ve made your selection, gather enough materials to cover the entire surface area of your roof.
How to Build a Roof in Minecraft
The Importance of Choosing the Right Materials
When it comes to building a roof in Minecraft, selecting the right materials is crucial. Not only does it add visual appeal to your structures, but it also serves as a protective barrier against hostile mobs and the elements. It’s essential to consider factors like durability, aesthetics, and functionality when choosing roofing materials.
Factors to Consider When Selecting Roofing Materials
Before diving into constructing your roof, take some time to evaluate the following factors:
- Durability: In a vast world like Minecraft, durability is key. You want your roof to withstand any challenges that come its way. Opt for materials that have high durability ratings such as stone bricks or nether brick slabs.
- Aesthetics: Your roof should complement the overall design of your structure. Consider the theme you’re going for—whether it’s medieval, modern, or fantasy—and choose roofing materials that align with that style. For example, spruce wood planks can give a rustic look while quartz blocks provide a sleek and modern appearance.
- Functionality: Think about what purpose you want your roof to serve besides protection from rain and mobs. Do you want skylights? Chimneys? Incorporate functional elements into your design using glass panes or trapdoors.
- Availability: Some materials may be more readily available than others depending on your location in Minecraft’s world. Take stock of what resources are abundant around you so you can make an informed decision on which materials to use for your roof.

Planning And Designing Your Roof in Minecraft
In this section, I’ll guide you through the process of planning and designing your roof in Minecraft. Building a roof that not only complements your structure but also provides functionality is crucial for any successful build. Let’s get started!
- Consider the Style and Theme: Before diving into the construction, take a moment to think about the style and theme of your building. Is it a rustic cottage? A modern skyscraper? Understanding this will help you design a roof that fits seamlessly with the overall aesthetic.
- Determine Roof Shape: Minecraft offers various roofing options, including gable roofs, hip roofs, flat roofs, and more. Choose a shape that suits your building’s architecture and personal preference. Experiment with different styles to find the perfect fit.
- Gather Materials: Next, gather all the necessary materials for constructing your roof. Depending on your chosen design, you may need blocks such as wooden planks, stone bricks, or terracotta tiles. It’s always helpful to have extra materials handy in case of mistakes or changes during construction.
- Plan Roof Dimensions: Measure the dimensions of your building’s top floor or attic space to determine how large your roof needs to be. This step will ensure that your roof adequately covers the entire structure without leaving any gaps or overhangs.
- Create an Outline: Using blocks from your selected material palette, create an outline of your desired roof shape on top of your building. This outline will serve as a blueprint for adding layers and details later on.
- Add Layers: Start by placing blocks along the outline to form the base layer of your roof structure. Gradually build up additional layers until you achieve the desired thickness and slope for optimal rain runoff.
- Incorporate Details: To enhance visual appeal, consider adding architectural details such as dormer windows, chimneys, skylights, or decorative patterns. These details can elevate the overall appearance of your roof and make it stand out.
- Experiment with Colors and Textures: Minecraft offers a wide range of block variations that can add depth and character to your roof. Mix and match different colors, textures, or even create patterns using stairs or slabs to achieve a unique look.
- Test for Functionality: Ensure that your roof provides adequate protection from rain by simulating rainfall within Minecraft. Observe how water flows off the roof and make adjustments if necessary to prevent any leaks or pooling.
By following these steps, you’ll be able to plan and design a well-crafted roof in Minecraft that not only adds functionality but also enhances the overall aesthetic appeal of your building. Happy building!


